Procedure
Procedure
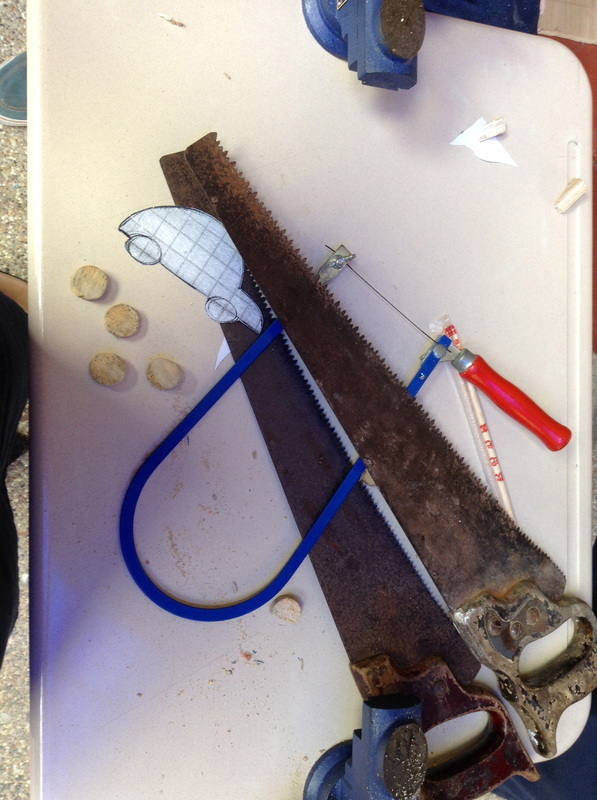
1. Trace the template to the wood
2. Cut the template
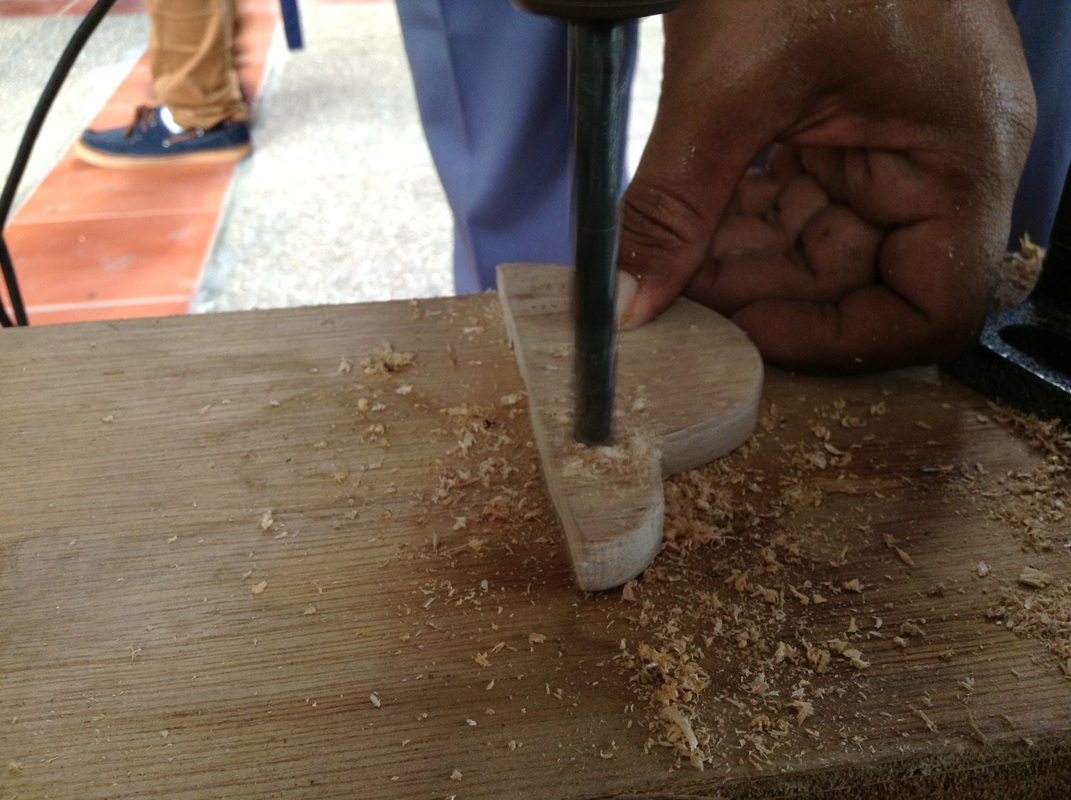
3. Draw a point, 0.3 cm from the bottom and 3 cm from the sides
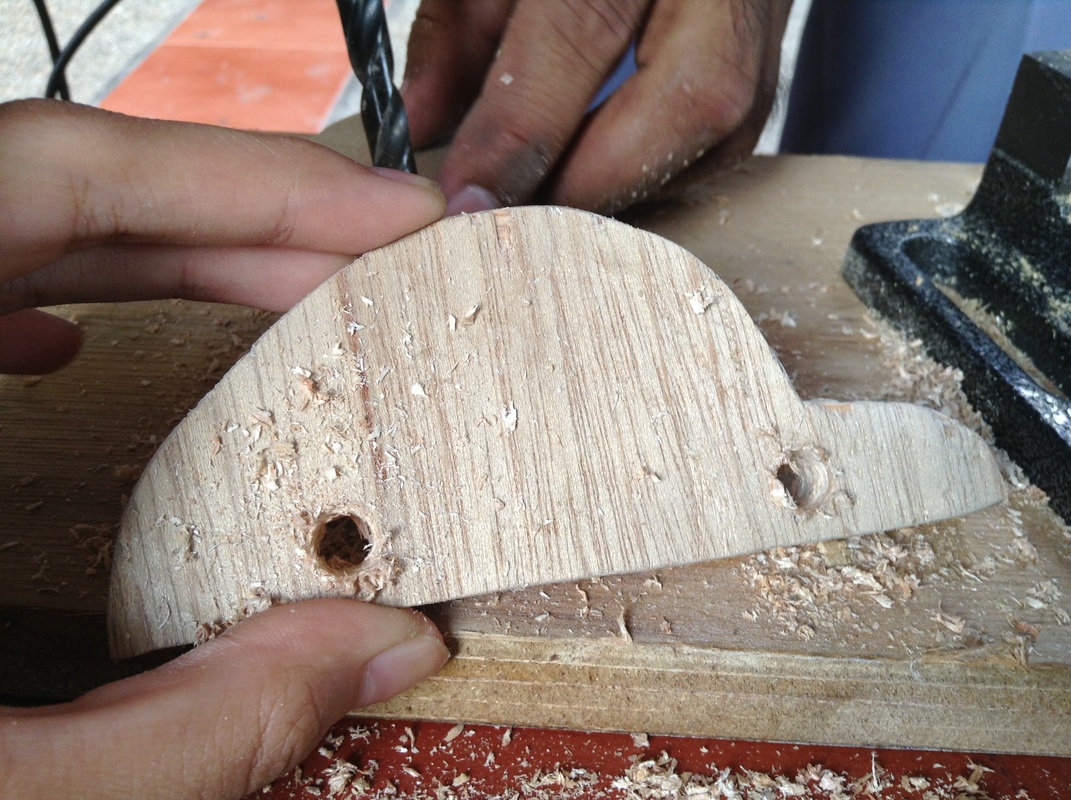
4. Drill the point
5. Measure 1cm of the wheels
6. Cut 4 of them
7. Drill the middle of the wheels
8. Measure a chopstick, each 3cm
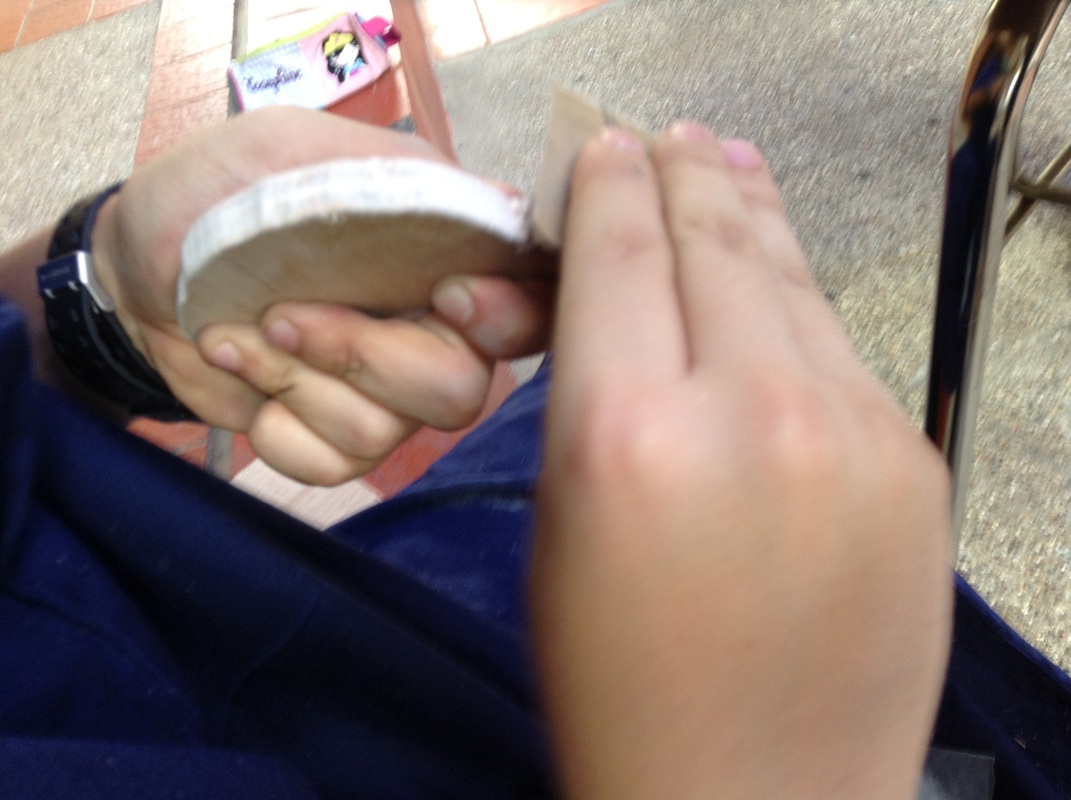
9. Sand paper the body of the car and the wheels
10. Attach one wheel to the chopstick
11. Put the stick in the body of the car
12. Attach the other wheel in the end
13. Do the same thing to the other one
14. Test the car
FINAL TOUCHES
1. Draw design of the car for painting the car
2. Sand paper the body of the car and the wheels
3. Place a foundation on the body of the car and wheels
4. Spread it thinly, make it flat
5. Leave it for 10 min to 15 min
6. Sand paper everything again to create smoothness and flat surface
7. Paint it with any color u want
8. Paint based on the design
9. Wait until it is dry
REFLECTION
1. The foundation must not be too thick, or later when we paint it could easily peeled off.
2. When painting do it one by one, let the colors dry or the colors would be smudge or mixed.
3. We need smaller brushes so that we could paint the object more detailed and neat.
1. Trace the template to the wood
2. Cut the template
3. Draw a point, 0.3 cm from the bottom and 3 cm from the sides
4. Drill the point
5. Measure 1cm of the wheels
6. Cut 4 of them
7. Drill the middle of the wheels
8. Measure a chopstick, each 3cm
9. Sand paper the body of the car and the wheels
10. Attach one wheel to the chopstick
11. Put the stick in the body of the car
12. Attach the other wheel in the end
13. Do the same thing to the other one
14. Test the car
FINAL TOUCHES
1. Draw design of the car for painting the car
2. Sand paper the body of the car and the wheels
3. Place a foundation on the body of the car and wheels
4. Spread it thinly, make it flat
5. Leave it for 10 min to 15 min
6. Sand paper everything again to create smoothness and flat surface
7. Paint it with any color u want
8. Paint based on the design
9. Wait until it is dry
REFLECTION
1. The foundation must not be too thick, or later when we paint it could easily peeled off.
2. When painting do it one by one, let the colors dry or the colors would be smudge or mixed.
3. We need smaller brushes so that we could paint the object more detailed and neat.

On creating the car for DT this quarter, I had a great score as my group succeded to get a 5 on the assignment. Our car was creative, neat and it can roll. Our group coorperated very well, as we divided our jobs and in the end we connected the parts. When we still have problems in the end, we had time to fix it. Then our car was awarded as one of the cars that worked as it can move freely. In near future, I need to improve on making the car even better by making it more neat and that it can move freely faster.
This assignment has no relation with intercultural awareness, therefore my group has worked together. Although we came from Indonesia and one of my members comes from korea. It doesn't mean although we're different that we can't work things out, but my group did. We had a very good creation in the end and that it increases my awareness of each culture.
This assignment has no relation with intercultural awareness, therefore my group has worked together. Although we came from Indonesia and one of my members comes from korea. It doesn't mean although we're different that we can't work things out, but my group did. We had a very good creation in the end and that it increases my awareness of each culture.
